Your Cart is Empty

Acura RSX DIY Radiator flush & Samco hose replacement
Samco radiator hose replacement & radiator flush
After purchasing the Samco radiator hose kit from Options Auto, I decided to flush out the radiator at the same time.
Here is the list of the items you will need:
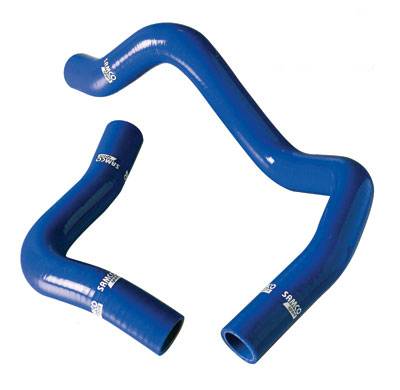
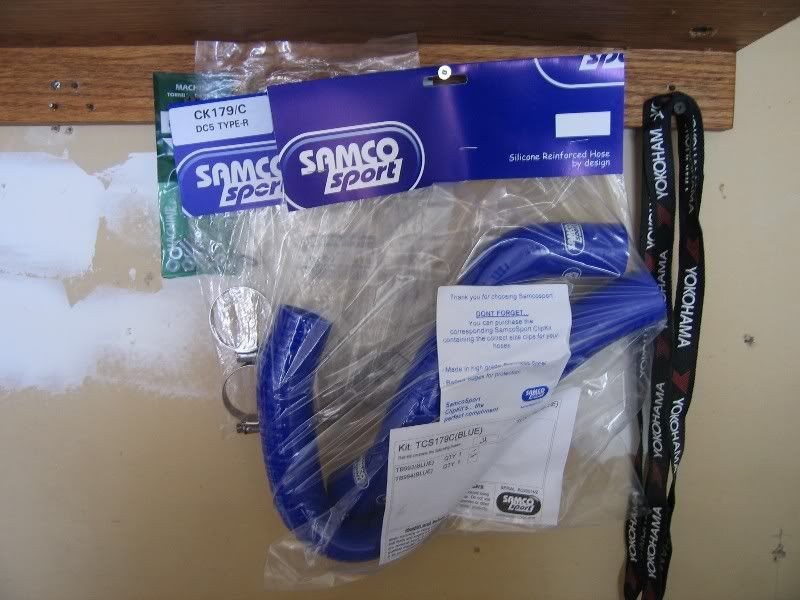
Samco silicon DC5 type-r hose kit
Samco stainless clamp kit (optional)
Antifreeze (I used Prestone since I will be doing radiator flushes every other year, the FSM states if you don’t use Honda fluid, the radiator could corrode/rust)
Water - distilled would be preferred, but I went with tap water since I will be doing this every other year.
Here is the tools you will need:
Floor jack
4 jack stands
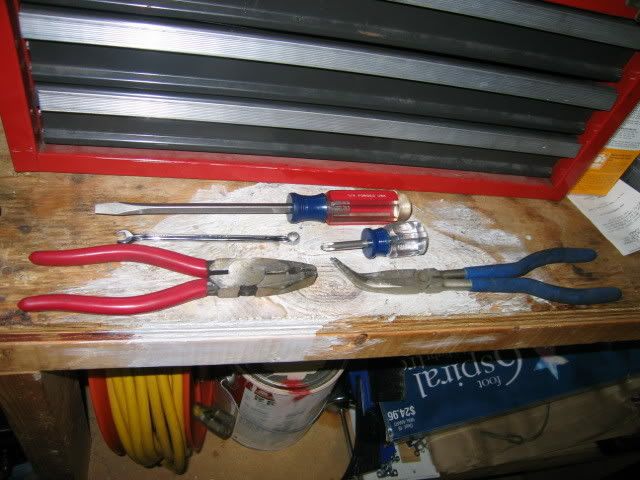
Pliers - angled needlenose & regular square ended
Screwdrivers - flathead & Phillips
7mm wrench
10mm wrench
(3) 1 gallon milk containers
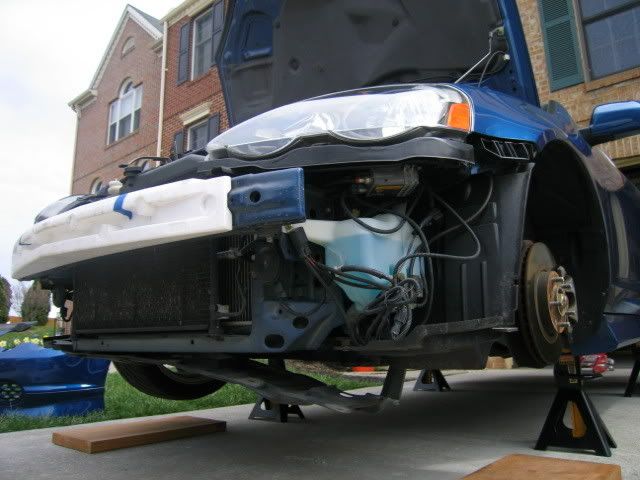
Step 1- jack up the car and put it up on jackstands on the jack points.

Step 2 – Remove the front bumper using the screwdrivers to pull the various screws and clips out. Next remove the lower splash guard
Step 3 – open the radiator valve on the bottom portion of the radiator by turning the knob counterclockwise. Radiator fluid is toxic, so catch as much as you can in a container for proper disposal (2) 1 gallon milk containers should be sufficient. Its optional to take off the dimple from the reservoir (left side of radiator) to drain that, the angled needlenose pliers works best.

Step 4 – close up the valve and fill the radiator with water from the garden hose. Start the car and let the water circulate through the system. Turning on the heater will help out even more. Drain the radiator again.
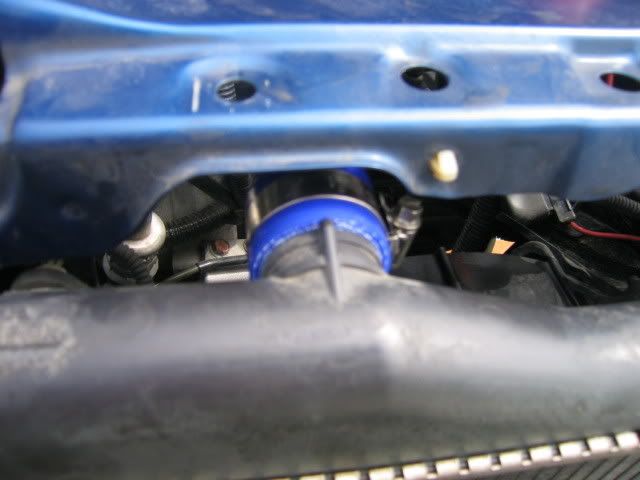
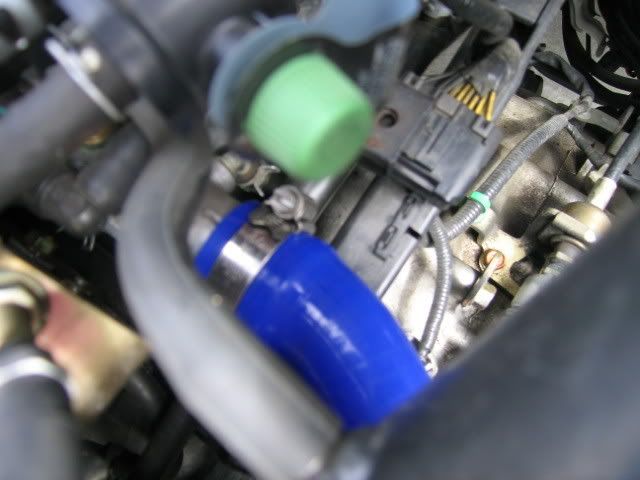
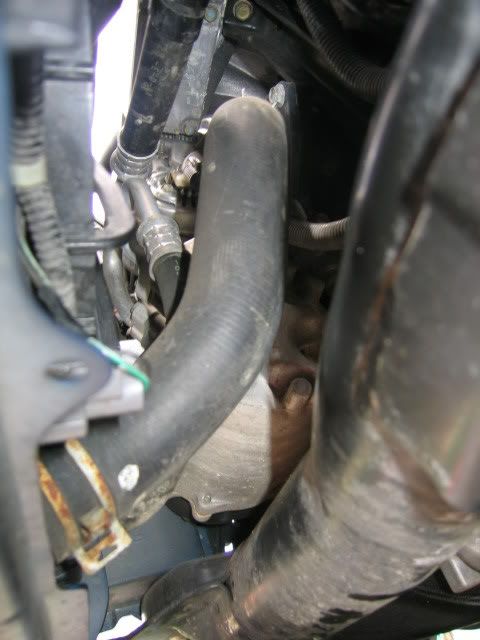
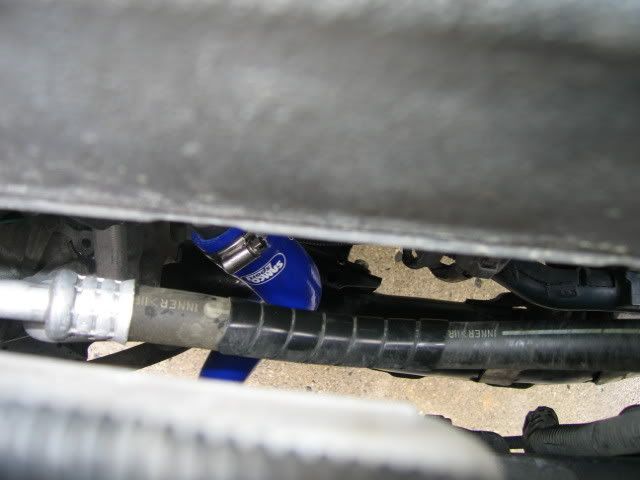
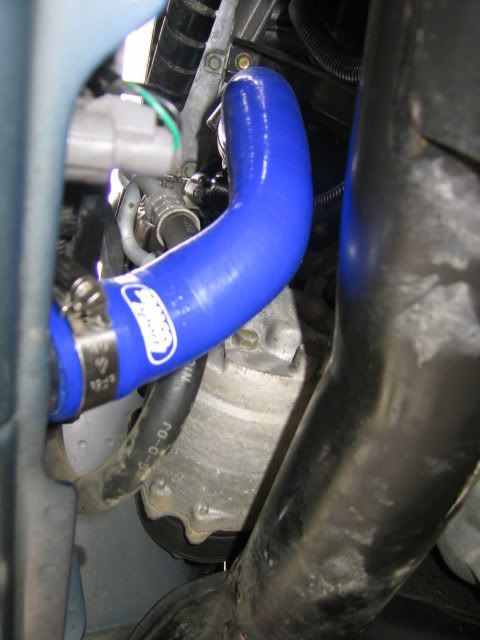
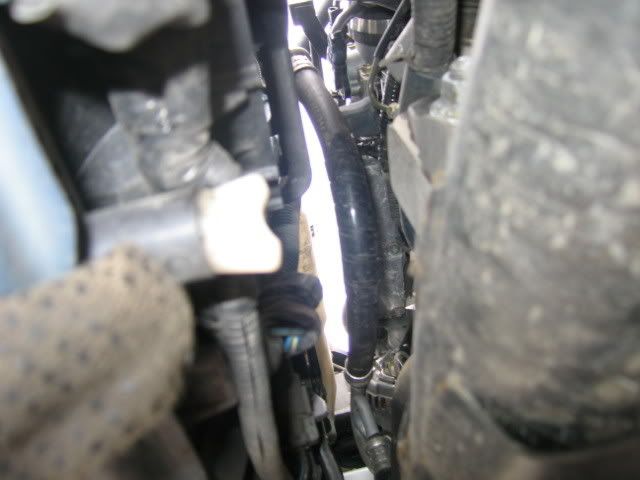
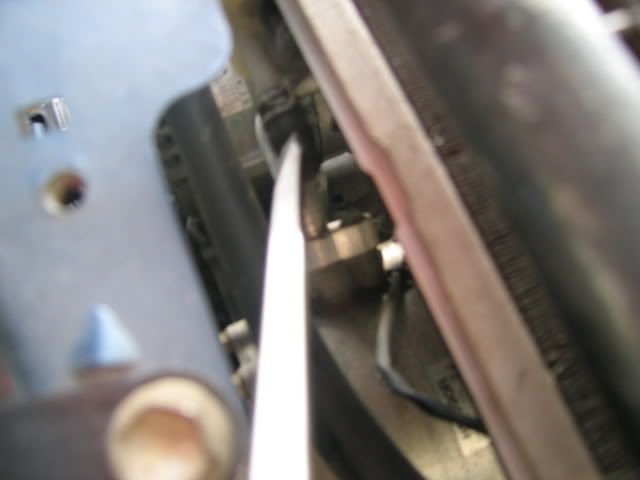
Step 5 – loosen up the 5 10 mm bolts holding the radiator support on the top and one 10 mm bolt on the bottom. Use the pliers to squeeze the clamps off the upper radiator hose from both the radiator and from the engine.
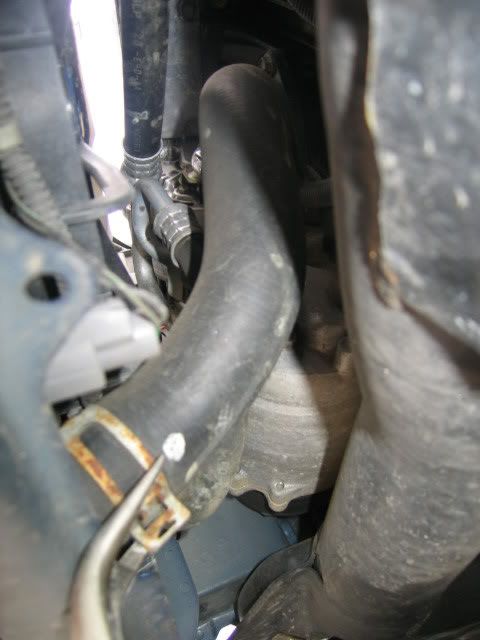
Step 6 – Slip the clamps on the Samco upper radiator hose and tighten the clamps on both. For the radiator hose aim the screw for the clamp so you can tighten it by inserting the screwdriver into the hole on the radiator support – this will make things easier. Use caution tightening the clamps, as most of the inlets are plastic and could be damaged with overtightening. Reinstall the 10mm bolts from the radiator support at the top and bottom.